INSTALLATION RULES OF POLYPROPYLENE PIPE SYSTEMS
How to perform welding operations?
Welding operations are performed by heating the parts to yield strength, then compressing and cooling them under a certain pressure. The weldability of polypropylene facilitates the installation of pipes and provides high quality seams compared to other methods. As a result, two welded polypropylene pipes form an unbreakable connection. PPRC pipes can be connected to each other by means of sleeves, bends, etc. During welding, pipes and fittings do not emit chemical substances harmful to human body.
Welding shall be performed using proper tools in accordance with operation standards.
Welding is performed under 220 V in accordance with the safety requirements defined by GOST 12.2.007-75*. Use dielectric mats and gloves when operating the welding machine.
Pipes are welded under heat and pressure.
Tools required for welding:
- Welding machine (1500W) *
- Heaters (⌀20, ⌀25, ⌀32, ⌀40)
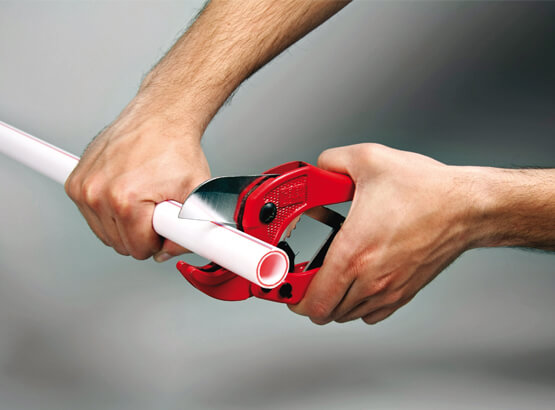
- Pipe cutters
- Measuring tape
- Measuring level
- Instruction manual
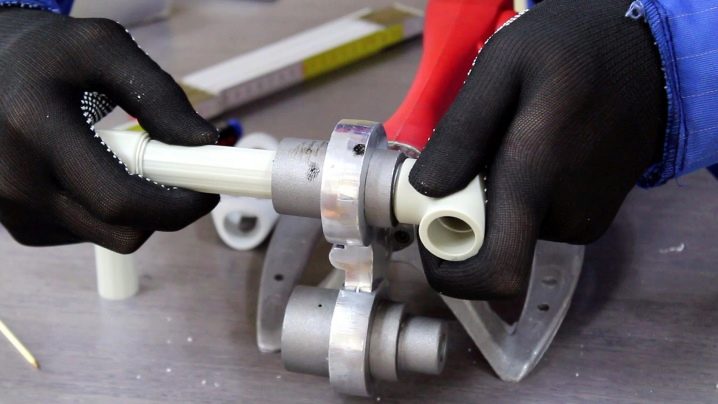
* For pipes with a diameter greater than 40 mm, use a special welding machine compatible with the corresponding capacity.
Welding
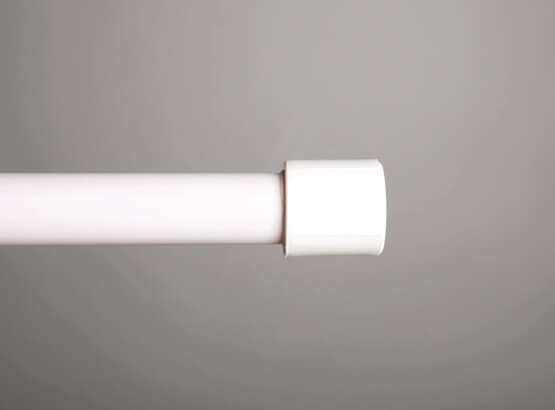
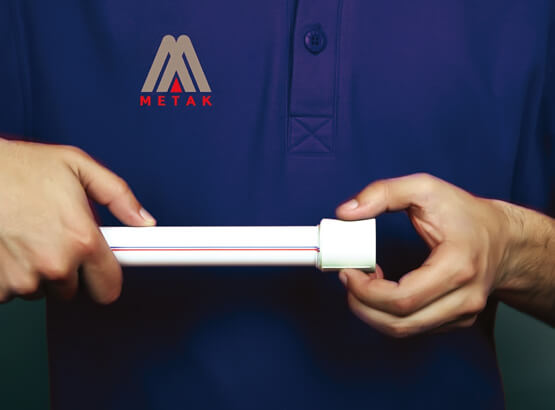
1. Before welding, make sure that that pipes and fittings are clean. If not, clean them with a piece of rag soaked in alcohol.
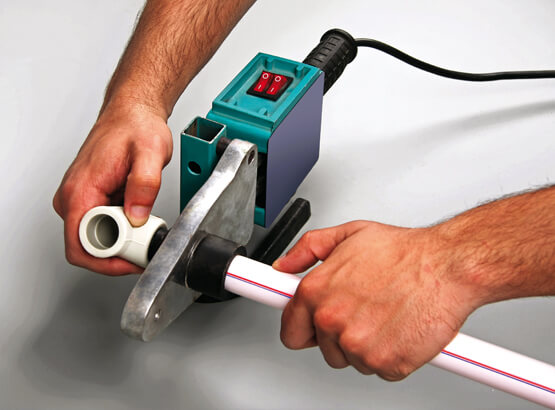
2. Turn on the welding machine and make sure that both control lights are on. Upon reaching the desired temperature, the second light will automatically turn off allowing to start the welding.
3. Move the parts to be welded to the welding elements of the machine. Wait for the heating time and connect the parts to respective fittings without turning the pipe.
4. Allow the welded parts some time to cool. Use the table below to determine the heating and cooling periods:
Welding periods based on diameter of PPRC pipe and fittings (260-270°C).
| Outer diameter, mm | Heating period, sec. | Welding period, sec. | Cooling period, sec. |
|---|---|---|---|
| 20 | 5 | 4 | 120 |
| 25 | 6 | 4 | 180 |
| 32 | 8 | 4 | 240 |
| 40 | 12 | 5 | 240 |
| 50 | 18 | 5 | 300 |
| 63 | 24 | 6 | 360 |
| 75 | 30 | 6 | 390 |
| 90 | 40 | 6 | 390 |
| 110 | 50 | 10 | 480 |
5. After installation, it is required to conduct a pressure test of the pipeline. Tests shall be carried out in accordance with standards defined by SNiP 3.05-85. Pressure test shall be performed not earlier than 14 hours after filling the pipeline with water. All tests shall be carried out at positive temperatures.
Testing guidelines
Hydraulic tests must be carried out under the supervision of a master or manufacturer
Pressure: 1.5 MPa
Test period: 1 hour after removing system plugs and reaching the maximum pressure level
Maximum pressure drop: 0.02 MPa (0.2 bar)
Pressure drop on the pressure gauge during testing means a leakage in the network. In this case you should replace or reconnect the pipes.